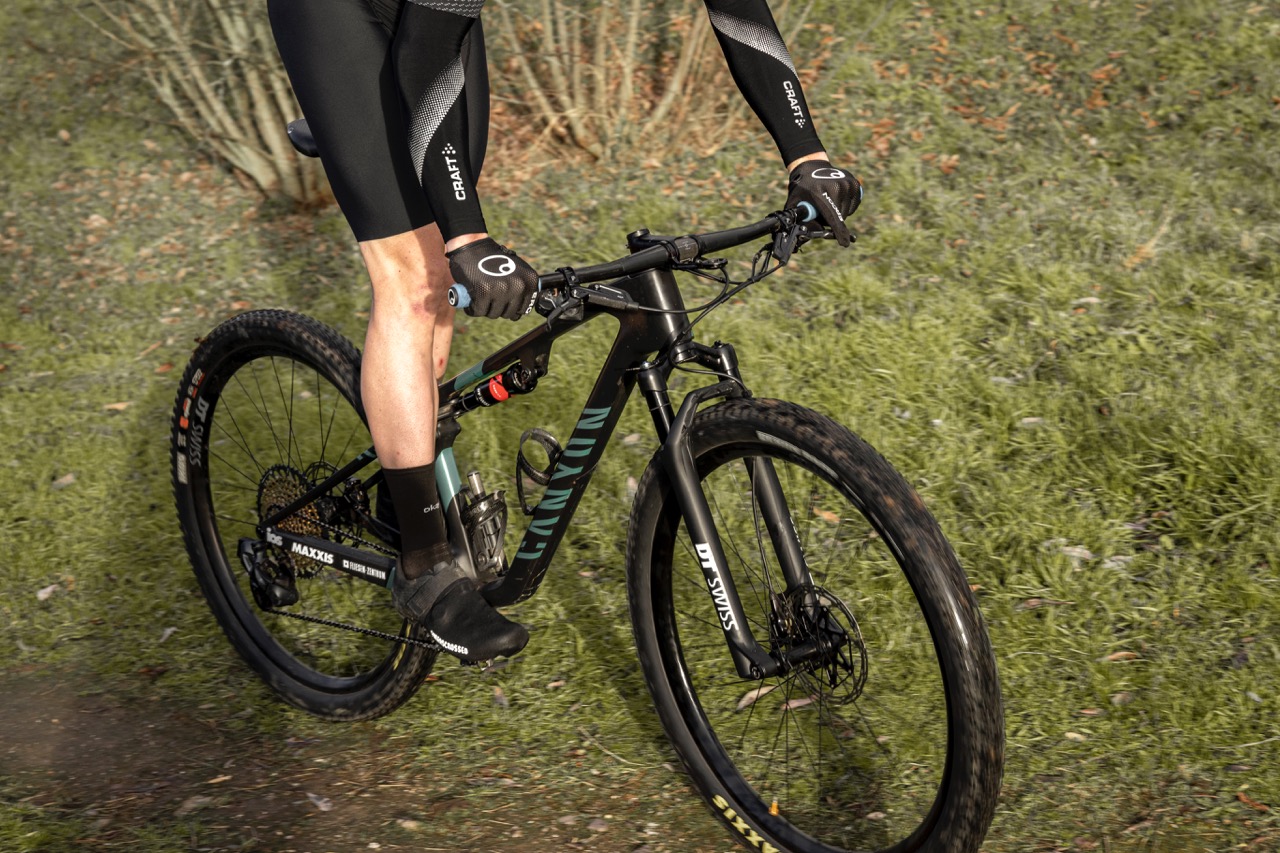
Easily Install and Quickly Adjust Shimano SPD Cleats

Installing and adjusting Shimano SPD cleats – We’ll show you how to determine the correct position of your SPD cleats in just a few simple steps and avoid foot misalignment.
Easily Install and Quickly Adjust Shimano SPD Cleats
Special cycling shoes and clipless pedals often have an undeserved reputation for being only for road bike, mountain bike, enduro, or downhill enthusiasts, and less suitable for touring or commuting. However, the firm connection between crank, pedal, shoe, and foot improves power transfer, enhances pedal grip, and ensures biomechanically correct foot positioning on the pedal axle. When installing cleats in general—and aligning the prevalent Shimano SPD cleats in particular—there are a few guidelines to avoid overuse, pain, or numbness in the sole, ankle, calf muscles, or knee. Incorrect cleat positioning can also reduce pedaling efficiency. Later, we’ll answer: What do you need to install your cleats, and how do you adjust them correctly?

The Shimano SPD Pedal System
“SPD” is a widely used clipless pedal standard from Japanese bike component manufacturer Shimano, though other brands also offer compatible pedals and cleats. The defining feature is the cleat’s shape with two side-by-side holes and corresponding threads in the shoe sole. Confusion with Shimano’s SPD-SL road bike pedals, which use three bolts, is only possible by name.
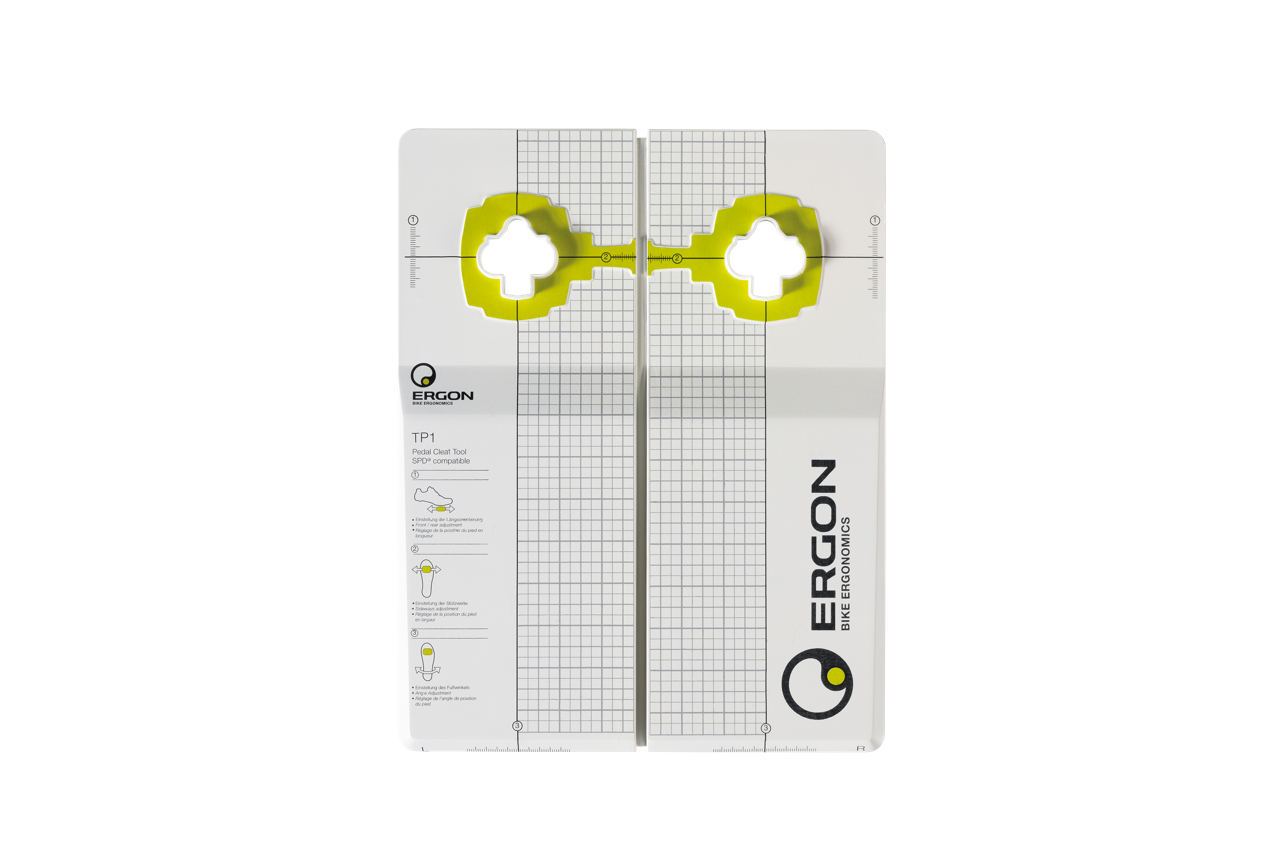
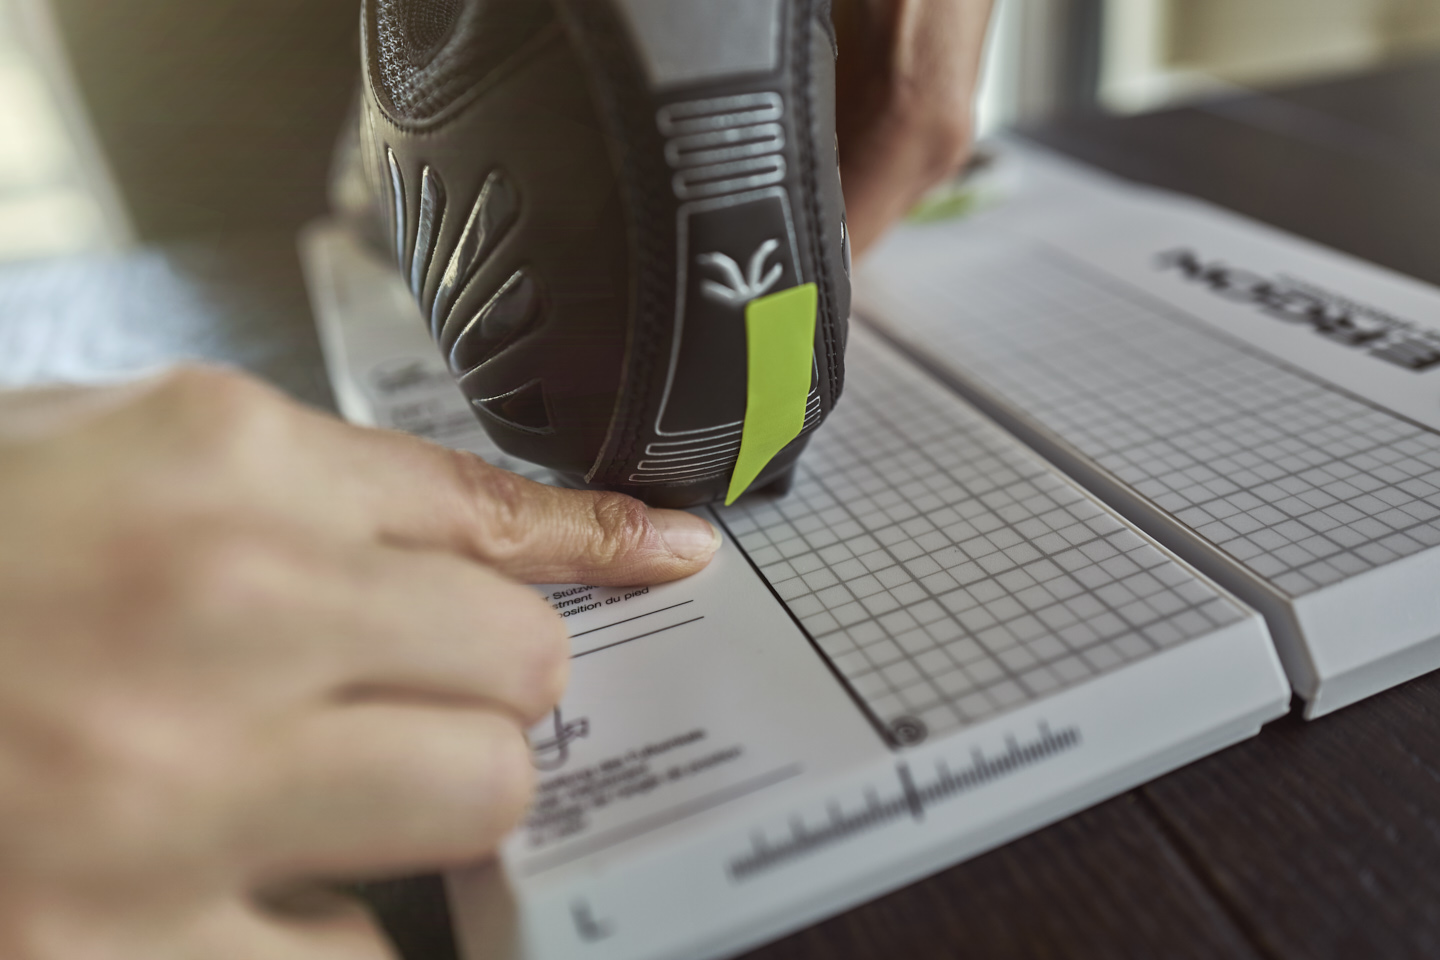
If you have new cycling shoes, want to replace old cleats, or are using clipless pedals for the first time, all you need for installation is a 4 mm Allen key—often found in a multitool that belongs in every good saddlebag. A ruler, pencil, and some tape are also helpful. Alternatively, Ergon’s bike fitting kits include user-friendly templates for aligning cleats and foot soles relative to the pedal axle.
Installing SPD Cleats – Step by Step!
New cleats come with the pedals, not the shoes. However, they can also be purchased separately for under ten euros. Along with the two cleats, you’ll get four screws and two washer plates shaped like glasses. With new shoes, you often need to remove a screwed-in cover from the front part of the sole to access the threads. Usually, there are four threads—use either the front or rear pair depending on your foot anatomy. Cleats are not left/right-specific, but an arrow indicates the forward-facing direction.
When installing new cleats, loosely screw them onto the shoe sole using the included hardware—it should be tight enough to hold but still adjustable.

Adjusting SPD Cleats – The Right Way
Step two is cleat alignment, which defines your foot’s position on the pedal. The SPD system allows about four degrees of float, but proper alignment is still crucial for comfort, performance, and injury prevention. Ergon’s fitting templates are a great help if you want to simplify the process.
Let’s begin: SPD cleats can be adjusted lengthwise, sideways, and rotationally. Ideally, the cleat’s center should sit directly under the foot’s transverse arch, from the big toe joint (ball of the foot) to the little toe joint. When viewed from above, your toes should point straight ahead or slightly outward in a “V” shape—this mirrors the natural walking position and is biomechanically optimal. Misalignment, such as placing the midfoot over the pedal center, can cause numbness, muscle fatigue, and premature foot exhaustion. Properly aligned clipless pedals can even help prevent misalignment.
Step-by-Step Guide to Cleat Positioning
- Put on your cycling shoes. On the inside of your foot, locate the center of the ball of your big toe and mark it discreetly on the sole using a pen or sticker.
- Repeat the process on your foot with the fifth toe joint. This point is harder to find—try wiggling your toes to locate the pivot point of the little toe and mark it.
- Once both shoes are marked, take them off and turn the soles toward you.
- Use a ruler or tape to draw a line between the two points on each shoe. A pencil line across the sole marks the cleat’s longitudinal position.
- Find the midpoint of this line from one edge of the sole to the other and draw a perpendicular line through it. This cross is your reference for fine-tuning cleat position.
- For cleat angle, align it with the shoe’s centerline from heel to toe or the mounting rails. The cleat can be aligned straight or slightly rotated inward. Tip: Feel where your second and third toes are inside the shoe—the cleat’s tip should point toward one or the gap between them.
- Once both cleats are aligned, tighten all four screws with an Allen key. Depending on the shoe brand, 5 to 8 Nm of torque is recommended—use a torque wrench and follow manufacturer guidelines. Whether to grease the screws is debated; if they have blue threadlocker, do not lubricate. Otherwise, we generally advise against greasing.

Feet Inward or Outward? Fine-Tuning SPD Cleat Adjustment
“Many people mistakenly believe that cleats must be symmetrically aligned on both sides … but there are plenty of sensible exceptions.”
— Dr. Kim Tofaute, ergonomics expert and professional bike fitter at Ergon
A perfectly centered cleat position can later be adjusted within limits to suit personal preferences and does not have to be identical on both sides. Cyclists using clipless pedals for a while usually want to mount their new cleats in the same position as the worn-out ones. In this case, Ergon’s TP1 templates are an even greater help for accurate transfer.
Still not satisfied with your cleat position? Fine-tuning in millimeter or degree increments is easily possible. Sporty riders can mount the cleat outward along the marked line to bring their feet closer to the crank for a narrower, more efficient Q-factor*. Heavier riders may prefer to shift the cleats 2–3 mm inward to create more space between the frame and thighs. Ambitious mountain bikers, cyclocrossers, and gravel riders with higher cadences should align their cleats to parallel their feet to the bike. Casual riders who pedal less frequently and more leisurely can allow for a bit more outward foot rotation on the pedal.
Cadence, terrain, and calf strength play a role in fore-aft positioning. Placing the cleat 2 mm in front of the marked line requires more endurance in the lower leg but often makes it easier to pedal smoothly and explosively. Moving the cleat more than 2 mm toward the heel saves some energy but may lead to a more stomping pedaling style. Off-road riders with many downhill sections often mount their cleats even further back to better absorb impacts from the ground with their legs.
IMPORTANT: Before clipping in for the first time, ensure the cleats are securely fastened. Otherwise, it can be tough to unclip, increasing the risk of a fall.
* Q-factor: The distance between the pedals (or the contact surfaces of clipless pedals) determines the stance width and crank spacing on the bike.